Recognition

Sunday, March 10, 2024

Critter Easter Card with Memory Box

 Main

Hello and welcome!  I have a fun Easter card featuring the newly released Layered Chicks 94726 and Cute Layered Bunny 94727.  

Supplies:  https://ldli.co/e/431pqo5

I also used the Vintage Tray 3D Embossing Folder and Die EF1040 released last Christmas for my background.  Here's a closer look at my card:

Close

I embossed two of the tray dies from white card stock and used the coordinating die on one of them.  On that one I used the cut outside edge to frame the other embossed panel.  I added dark brown ink to the frame before adhering it to the white tray.  

Next I cut the critters and sentiment (Happy Easter Curled Script 95731)  from white card stock and colored them with alcohol markers.  I put the critters in the openings and then added the sentiment to the larger opening and finished it off with some Autumn jewels.  Here's one last look:

1

I hope you like my Easter card for today.  I just fell in love with those little critters when I say them and couldn't wait to use them on a card.  Be sure to come back each day for more inspiration!  

Thanks for stopping by!

AngiesignatureNEW


Thursday, February 29, 2024

Thank You and Sympathy Floral Cards with Memory Box Release

Vellum thanks main

Hello and welcome, it's Angie here today!   I have a card design for you today, that I made for two different purposes. One is a "thank you" card and the other is a "sympathy" card and I used the same technique to create each of these.

Supplies:  https://ldli.co/e/43l4105

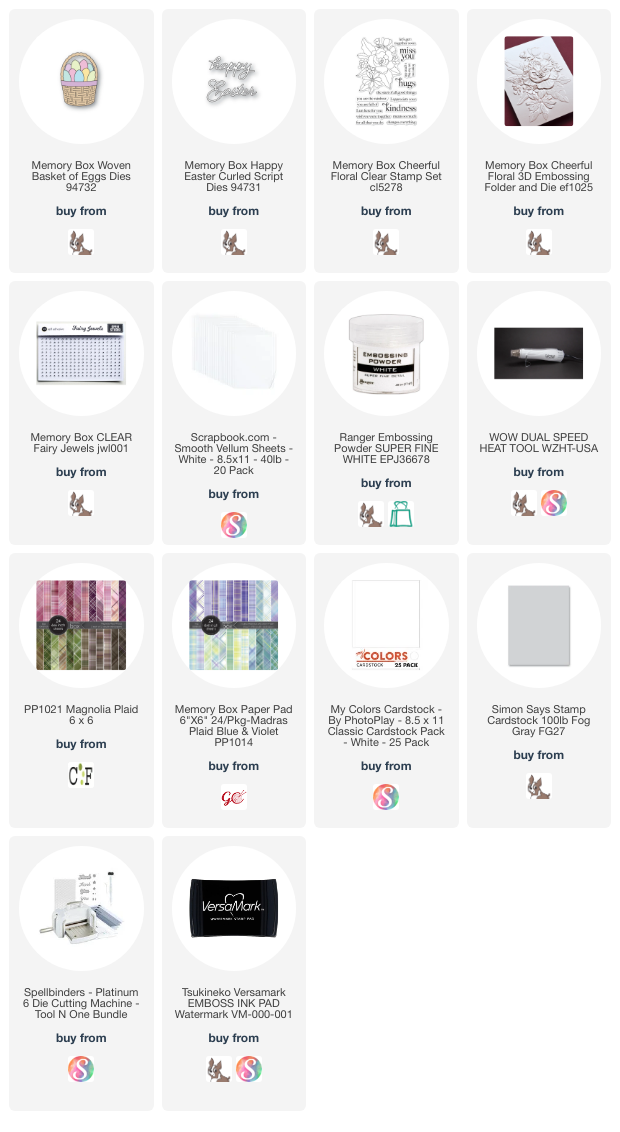
The main image was created by dry embossing the large flower from the Cheerful Floral 3D embossing folder (EF1025) on a piece of white card stock and a piece of vellum. Once embossed, I added Distress Inks in Fired Brick and Seedless Preserves on both the debossed side of images - ink pad direct to paper, then used the coordinating die that comes in the Cheerful Floral Clear stamp and die set (CL5278 and CLD5278) I cut both of them out. I did not use the stamp, just the large floral die from the set.

Next I layered the inked vellum piece on top of the inked white panel and adhered them together using a tape runner putting tape only on the darker areas of ink so you can see it. Here's a closer look at the image:

Vellum thanks close

I added that piece to a card base that was 5.5" tall and 3.25" wide. Next I took a piece of A2 card stock (4.25" by 5.5") and added 1/2 inch strips of patterned paper from the Magnolia Grove PP1022 paper pad. Then I added back the the top folding card to the A2 panel right in the middle between the strips of paper. So now when you open the card the patterned paper stays on the inside of the card and only the white part opens up. The sentiment is a new white Circle Tab from the Thank You packed of gold foiled tab sentiment. Lastly I added jewels to the flower centers.

Here's one last look at my card:

Vellum thanks 1

The next card was made exactly the same except I used the stamp and die set CL5270 called Elegant Succulents and heat embossed it in white on black card stock. That is the only difference in the cards.

Vellum sympathy main

Here's a close up view:

Vellum sympathy close

And here's one final view:

Vellum sympathy 1

I hope you like my cards for today, I had so much fun creating with the new release!
Be sure to stop by the blog often for more inspiration. Thanks for stopping by!

AngiesignatureNEW

Tuesday, February 27, 2024

Muffins with Riley and Company New Release


Hello and welcome!  I have a funny new Funny Bones sentiment from Riley and Company used on this colorful card.


I put vellum behind the open squares and layered that on a dry embossed panel, then atop a textured light blue panel, then added it all to a white card base.  Baking Riley holding the muffins was stamped, cut and colored with alcohol markers, then added to the top of the card.  I finished it with a few light blue hearts.

Here's another look:


Thanks for stopping by!  I have affiliate links below at no extra cost to you.
Happy crafting!

Sunday, February 25, 2024

Clearing Space in the Freezer with Riley and Company


Hello and welcome!  I have another new Funny Bones sentiment used on this kitchen card:

"I just cleared out some space in the freezer" sounds so much more productive than "I just polished off another pint of ice cream."

Supplies:  https://ldli.co/e/ye59ezk

To create this card  I used the Karen Burniston "Oven Pop-Up" die set but not as a pop up.  I used the panels meant to pop out the cabinets to create the fridge/freezer by cutting two of them and putting them side by side and coloring them to look like a silver/stainless 4 door fridge/freezer.  I cut the drawers and added them to the bottom portion of the pop out counter die.  I had to trim it down since I didn't need it to pop out.  The top cabinets were made with the cookie sheet and all drawers and cabinets had black dots added to them for handles.  Those dot dies are also included in the set.  Here's a closer look at my card:


I added thin back strips for the doors on the fridge and freezer.  I also cut on the lines so I could open the freezer doors.  I added little scraps inside the freezer like tv dinner boxes, etc. just to make it more fun.


The critter is the Dress Up Cow stamp and die colored with alcohol markers.  I created the pint of ice cream by using a coffee cup die from the Coffee Cups die set.  After cutting it, I trimmed the bottom of the cup a little and trimmed a little off the top to make if have more of the pint shape.  I covered the heart hole in the middle of the coffee cup die by stamping an extra ice cream dessert from the Rock and Roll set.  He is holding one ice cream dessert in the glass, and for the label on the pint, I used the same ice cream but just cut off the glass.  After coloring the ice creams, I added glossy accents to them for some shine. 

The papers are from my stash, a light teal textured panel plus some woodgrain paper for the floor.  I hope you enjoyed my card - I had a lot of fun creating it!

Here's one last look:


Thanks for stopping by!  Be sure to check out the whole release HERE.  I've added affiliate links below at no extra cost to you.  Happy crafting my friends.


Code End-->

Saturday, February 24, 2024

Crafting with Riley and Company New Release


Hello and welcome, here's another card for all us crafters.  


This happens to me all the time, I just had it in my hand and can't find it anywhere!  I layered a lot of dies on this card and also used some older Simon Says Stamp inks for the ink blending.  

The critters and images were stamped, colored and cut - most were from the Crafters Dress Up set.
I paper pieced the inked pieces into the white die cuts and saved the white inserts for another project.

Here's another look:


I hope you like my card for today!


Thanks for stopping by!


Friday, February 23, 2024

I Like to Have My Cake with Riley and Company


Hello and welcome!  I have a mini slimline tri-fold card featuring the new sentiment from Funny Bones:  "I like to have my cake and eat it to.  I'd like to have your cake and eat it too."  So funny!


I made a fold out mini slimline card using papers from Pink and Main and decorated with Cake Riley, Popping Out of Cake Riley and cakes from the Riley Dress Up Birthday stamp and die set.  I cut and colored the images and then added the papers on each panel and the images and sentiment (split in half) on top of the patterned papers panels.

Below you can see the two inside panels:


Here's a closer look at the inside sentiment:


And here's a close up of the front outside panel cut at an angle and inside plaid angled panel to the right.


One last look at my card front:


I hope you like my card for today!  I had a lot of fun creating it!
Thanks for stopping by!

Thursday, February 22, 2024

Riley and Company Release - You Know You're Over 40


Hello and welcome!  I have another card for you featuring a brand new die "For You" and new Funny Bones sentiment.  


If you look at the photo above, you can see an angled stripe which is the edge of the top of the top folding card.  When you open the card it looks like this photo below, so you can still see the plants and bottom portion of the staircase.


I made the stairs out of wood looking papers, and used the brick die cut up and put back together to look like stairs.  The pots were made from the Wine Glass/Beer Mug duo die set.  I stamped, colored and die cut two Waterbottle Riley critters and made a small bottle of ibuprofen for each of them.  The plants were made from the Fancy Ferns die set.  The sentiment was stamped, heat embossed in white on black cardstock and then cut in half so I could put part of the sentiment on the card front and the rest on the card inside.  Here's a real close up look:


I hope you like my card for today.  Here's one last look at the card opened:


Thanks so much for stopping by!

Angie